
Emergency Roof Leak: What to Do First Before Calling a Pro
Emergency roof leak what to do first: contain water, document damage, and call (833)-700-4293 to connect with pre-vetted local contractors fast.

By Gabriel Hayes
Learn more about Roof Repair or Maintenance for guides, costs, and what to expect.
Compare Roof Repair or Maintenance Pros Near You

Enter your ZIP code to compare top-rated local professionals and request free quotes.
Water is pooling on your ceiling, dripping down the wall, or staining the paint in a spreading brown ring. In that moment, panic is normal, but every minute you hesitate allows more water to soak into drywall, insulation, framing, and electrical wiring. Knowing the right sequence of actions for an emergency roof leak, what to do first and what to avoid, can mean the difference between a few hundred dollars in repairs and a five-figure restoration bill. This guide walks you through the exact steps to take, in order, so you can protect your home, your belongings, and your insurance claim while you wait for professional help to arrive.
Step 1: Stop the Water From Spreading Inside Your Home
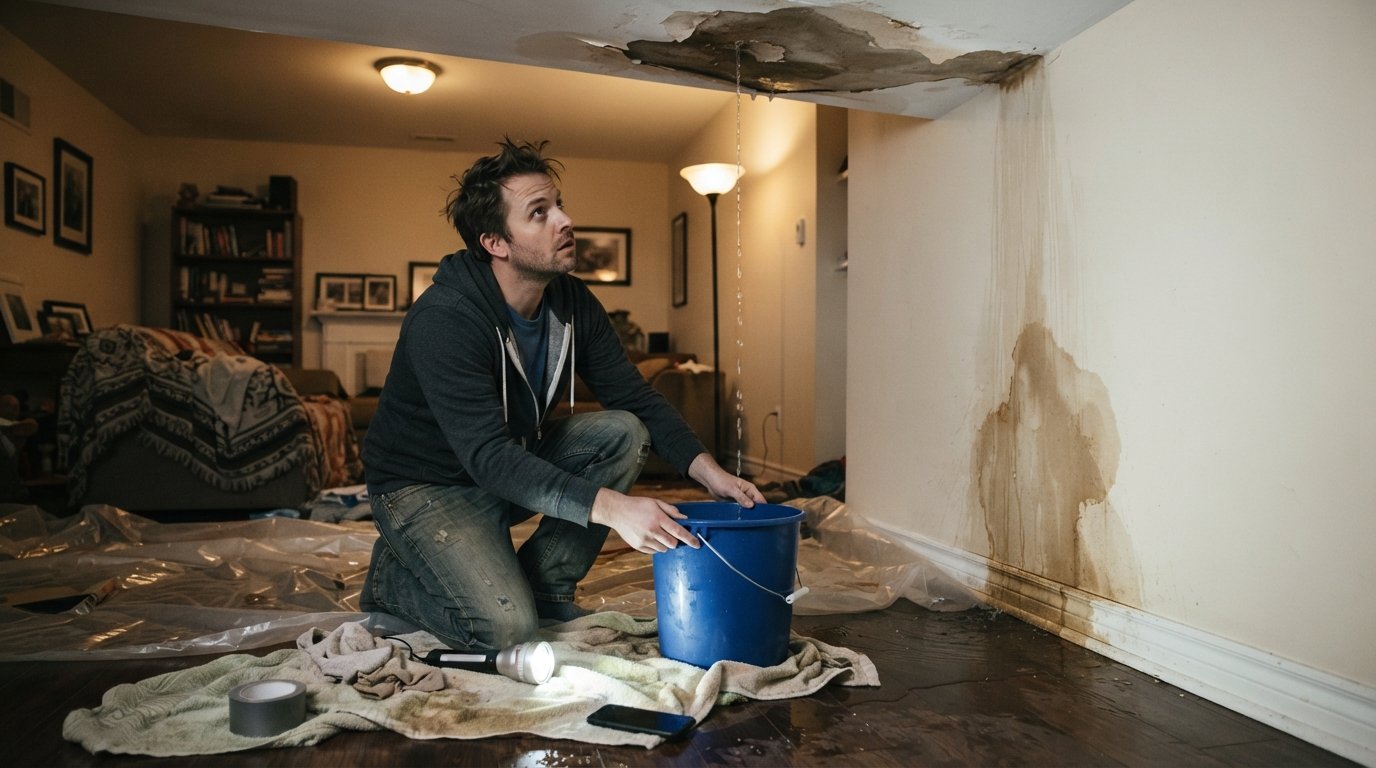
The moment you notice an active leak, your first priority is containment. Water travels fast along ceiling joists and can appear far from the actual entry point, so you need to act before the damage footprint grows. Grab buckets, pots, towels, and plastic sheeting. Place containers under every drip you can find, and if the ceiling is bulging or sagging, do not stand directly under it. A bulging ceiling can collapse without warning, and the weight of trapped water makes that risk very real.
If the water is dripping near electrical outlets, light fixtures, or wiring, turn off power to that area at the breaker box immediately. Do not touch anything electrical while standing on a wet floor. If you cannot safely reach the breaker panel, evacuate the room and call an electrician or emergency services. Safety always comes before property.
Once containment is in place, move furniture, electronics, rugs, and anything else portable out of the affected zone. Elevate items you cannot move onto blocks or plastic. If water has reached carpet or hardwood, blot what you can and place towels along the edges to slow absorption. Mold can begin growing within 24 to 48 hours, so every minute you spend limiting moisture contact matters.
- Place buckets and towels under active drips
- Turn off electricity to affected areas if safe to do so
- Move furniture, electronics, and valuables away from the leak
- Photograph and video the damage before you clean anything up
- Do not stand under sagging ceilings or poke holes in bulges without proper gear
Documentation is critical. Before you remove a single soaked towel, take photos and videos from multiple angles. Capture the leak itself, the damaged ceiling or walls, wet belongings, and any visible mold. This evidence will support your insurance claim and help contractors assess the scope of work. Once you have documented everything, you can begin cleanup without worrying about losing proof of the damage.
Step 2: Contain the Source From the Roof Side if It Is Safe
If the leak is coming from a specific spot and the weather allows, you may be able to reduce the flow by addressing the roof surface temporarily. This step is optional and only for homeowners who are confident on a ladder and comfortable working near the edge of a roof. Never attempt this in high winds, heavy rain, lightning, or darkness. Falls are the leading cause of home injury during roof repairs, and no temporary patch is worth a trip to the emergency room.
If conditions are safe, the goal is to create a temporary barrier that diverts water away from the damaged area. You are not trying to fix the roof permanently. You are buying time until a licensed roofing contractor can inspect and repair it properly. Common temporary measures include laying a heavy tarp over the affected section and securing it with sandbags or lumber, or applying roofing cement or butyl tape around a visible puncture or missing shingle.
Before you climb anything, check that your ladder is on stable ground and extends at least three feet above the roof edge. Wear shoes with grip, and have someone spot you from the ground. If you have any doubt about your ability to do this safely, skip it entirely. A professional roofing crew can tarp your roof quickly, and many offer emergency services for exactly this situation.
If you cannot access the roof, there is another option: go into the attic. If you can safely reach the underside of the roof deck, you may be able to spot the entry point and place a container directly beneath it. You can also use a piece of plastic sheeting to funnel water into a bucket. Again, only do this if the attic is dry, well lit, and free of exposed wiring hazards.
Step 3: Call Your Insurance Company and Start a Claim
Once the immediate water flow is contained, your next call should be to your homeowners insurance provider. Most policies cover sudden and accidental water damage from a roof leak, though coverage varies based on the cause and your specific policy. The sooner you open a claim, the sooner an adjuster can be assigned and the sooner you can get approval for repairs.
When you call, have your policy number ready and a clear summary of what happened. Be honest about the cause if you know it. If the leak resulted from a storm, hail, or fallen branch, that is typically covered. If it resulted from neglected maintenance, the insurance company may deny the claim, but you still need to report it and document their response. Keep a record of every conversation, including the date, time, representative name, and claim number.
Your insurance adjuster will likely schedule an inspection within a few days. In the meantime, do not throw away any damaged materials. Stack them in a dry area and keep them available for the adjuster to review. If you hire a contractor to perform emergency tarping or water extraction before the adjuster arrives, save every receipt. These emergency mitigation costs are often reimbursable under your policy.
While you wait for the adjuster, start gathering your own documentation. Create a folder with your photos, videos, receipts, and notes. If you have a home inventory, pull it out. If you do not, start making a list of damaged items with approximate values. The more organized you are, the smoother your claim will go.
Step 4: Hire a Licensed Contractor for Emergency Repairs
Once the insurance claim is in motion, you need a qualified professional to handle the actual repair work. This is where many homeowners make costly mistakes. In a panic, it is tempting to hire the first person who answers the phone or knocks on your door. Storm chasers and unlicensed handymen often target homeowners after heavy rain, promising quick fixes and demanding large upfront payments. Do not fall for it.
A reputable roofing contractor will provide a written estimate, carry liability insurance and workers compensation, and have a verifiable license. They will also be willing to work with your insurance adjuster and provide documentation for your claim. If a contractor pressures you to sign immediately, asks for cash only, or refuses to put anything in writing, walk away.
Finding a trusted contractor quickly is easier when you use a vetted network. FreeQuotes.Contractors connects homeowners with pre-screened local roofing professionals who can respond to emergency leaks, provide free estimates, and help you navigate the insurance process. This saves you hours of research and reduces the risk of hiring someone unqualified.
When you speak with contractors, ask specific questions. How soon can you get here? Do you handle insurance claims? What is your process for temporary versus permanent repairs? Will you provide a written contract? A good contractor will answer these questions clearly and without hesitation. They will also inspect the roof thoroughly before giving you a final number, rather than quoting a price over the phone.
Before work begins, make sure you understand the scope of the project. Emergency repairs may involve tarping, patching, or replacing damaged shingles. Permanent repairs might require replacing flashing, sealing penetrations, or addressing underlying structural issues. Get everything in writing, including timelines, materials, and payment schedules. Never pay the full amount upfront. A standard deposit is usually 10 to 30 percent, with the balance due upon completion.
Step 5: Prevent Future Leaks With Regular Maintenance
Once the immediate crisis is over and the repairs are complete, take steps to prevent the next leak. Most roof leaks do not happen overnight. They develop slowly over months or years as shingles age, flashing loosens, and sealants degrade. Regular maintenance is the cheapest insurance you can buy.
Schedule a professional roof inspection at least once a year, ideally in the spring or fall. A qualified roofer will check for missing or damaged shingles, worn flashing around chimneys and vents, clogged gutters, and signs of water intrusion in the attic. They can catch small problems before they become expensive emergencies.
Between professional inspections, do your own visual checks from the ground. Look for curling or missing shingles, granules collecting in gutters, and stains on ceilings or walls. After any major storm, walk around your home and check for debris, damage, or new leaks. If you see something suspicious, call a contractor before the next rain.
Keep your gutters clean and ensure downspouts direct water away from your foundation. Trim overhanging tree branches to prevent them from scraping or falling onto the roof. If your roof is more than 15 to 20 years old, start budgeting for replacement. Aging roofs are more likely to leak, and proactive replacement is almost always cheaper than emergency repairs plus interior restoration.
What Not to Do During an Emergency Roof Leak
Just as important as knowing what to do is knowing what to avoid. During an emergency, stress can lead to poor decisions that make the situation worse. Here are the most common mistakes homeowners make and how to steer clear of them.
Do not ignore the leak and hope it stops. Water damage compounds quickly. What starts as a small stain can become a mold infestation, a rotted roof deck, or a collapsed ceiling within days. Even if the leak seems minor, treat it as urgent.
Do not climb onto a wet or icy roof. This is the single most dangerous thing you can do during a roof emergency. Wet shingles are slippery, and a fall from even a single-story roof can cause serious injury. Leave the roof work to professionals.
Do not use a pressure washer or harsh chemicals on the roof as a temporary fix. These can damage shingles and void your warranty. Stick to tarps, sealants, and other gentle temporary measures.
Do not hire the first contractor who shows up at your door. Storm chasers often disappear after taking your money, leaving you with unfinished work and no recourse. Take the time to verify licenses, read reviews, and get multiple estimates.
Do not delay filing your insurance claim. Most policies have deadlines for reporting damage. If you wait too long, you may lose your right to reimbursement. Call your insurer as soon as you have contained the immediate threat.
Understanding the Costs of Emergency Roof Leak Repairs
The cost of fixing an emergency roof leak depends on several factors: the extent of the damage, the type of roof you have, your location, and whether the repair is temporary or permanent. On average, homeowners in the United States spend between $300 and $1,500 for emergency roof repairs, with more extensive damage pushing costs higher.
Temporary measures like tarping or patching typically cost less, often in the range of $150 to $500. Permanent repairs, such as replacing flashing, repairing shingles, or sealing penetrations, can range from $500 to $2,000 or more. If the leak has caused interior damage, you may also need to pay for drywall repair, painting, insulation replacement, and mold remediation, which can add thousands to the total.
Insurance may cover a significant portion of these costs if the leak was caused by a covered event, such as a storm or fallen tree. However, you will still be responsible for your deductible. Review your policy carefully and speak with your adjuster to understand what is covered and what is not.
To keep costs manageable, get multiple estimates before committing to a contractor. Ask for a detailed breakdown of labor, materials, and any additional fees. A reputable contractor will be transparent about pricing and will not pressure you into unnecessary work. If a quote seems unusually high or low, get another opinion.
When to Call a Professional Immediately
Some situations require immediate professional intervention. If you see any of the following, do not wait. Call a licensed roofing contractor or emergency restoration service right away.
- Water is pouring through a ceiling or light fixture
- The ceiling is bulging or sagging
- You smell burning or see sparks near the leak
- Mold is visible or you smell a musty odor
- The leak is near electrical panels or wiring
- You cannot safely contain the water yourself
In these cases, the risk of injury or further damage is too high to handle alone. Professionals have the tools, training, and experience to stop the leak, mitigate damage, and restore your home safely. The cost of hiring a pro is almost always less than the cost of ignoring the problem.
If you are unsure whether your situation qualifies as an emergency, err on the side of caution. A quick call to a contractor can help you assess the severity and decide on the best course of action. Many roofing companies offer free emergency assessments and can be on-site within hours.
Protecting Your Home and Your Wallet
An emergency roof leak is stressful, but it does not have to be financially devastating. By acting quickly, documenting everything, and hiring a qualified professional, you can minimize damage and maximize your insurance recovery. The key is to stay calm, follow the steps in order, and avoid the common mistakes that turn a manageable repair into a major renovation.
Remember that your safety comes first. Never climb onto a wet roof, never touch electrical components in a wet area, and never hesitate to call for help when you need it. A licensed contractor can handle the dangerous work while you focus on protecting your family and your belongings.
Once the crisis passes, take steps to prevent future leaks. Regular maintenance, annual inspections, and prompt repairs will keep your roof in good condition and your home dry for years to come. If you need help finding a trusted local contractor, reach out to a vetted network and get connected with a professional who can handle the job right.